
How to Implement a Cookie Banner via GTM in adsfox

The instructions are arranged in the order that makes the most sense for completing the implementation. First, you will generate the code in adsfox. Next, you will add it in Google Tag Manager. Finally, you will complete the banner settings in the panel. If you follow all steps in order, the cookie banner should start working immediately after the GTM container is published.
Before You Start
1. Prepare access to the adsfox panel and the Google Tag Manager container assigned to the correct website.
2. Make sure you are working in the GTM container that is already installed on the website.
3. Prepare the link to your privacy policy, because you will need it during the final banner configuration.
Step 1. Get the Scripts in adsfox
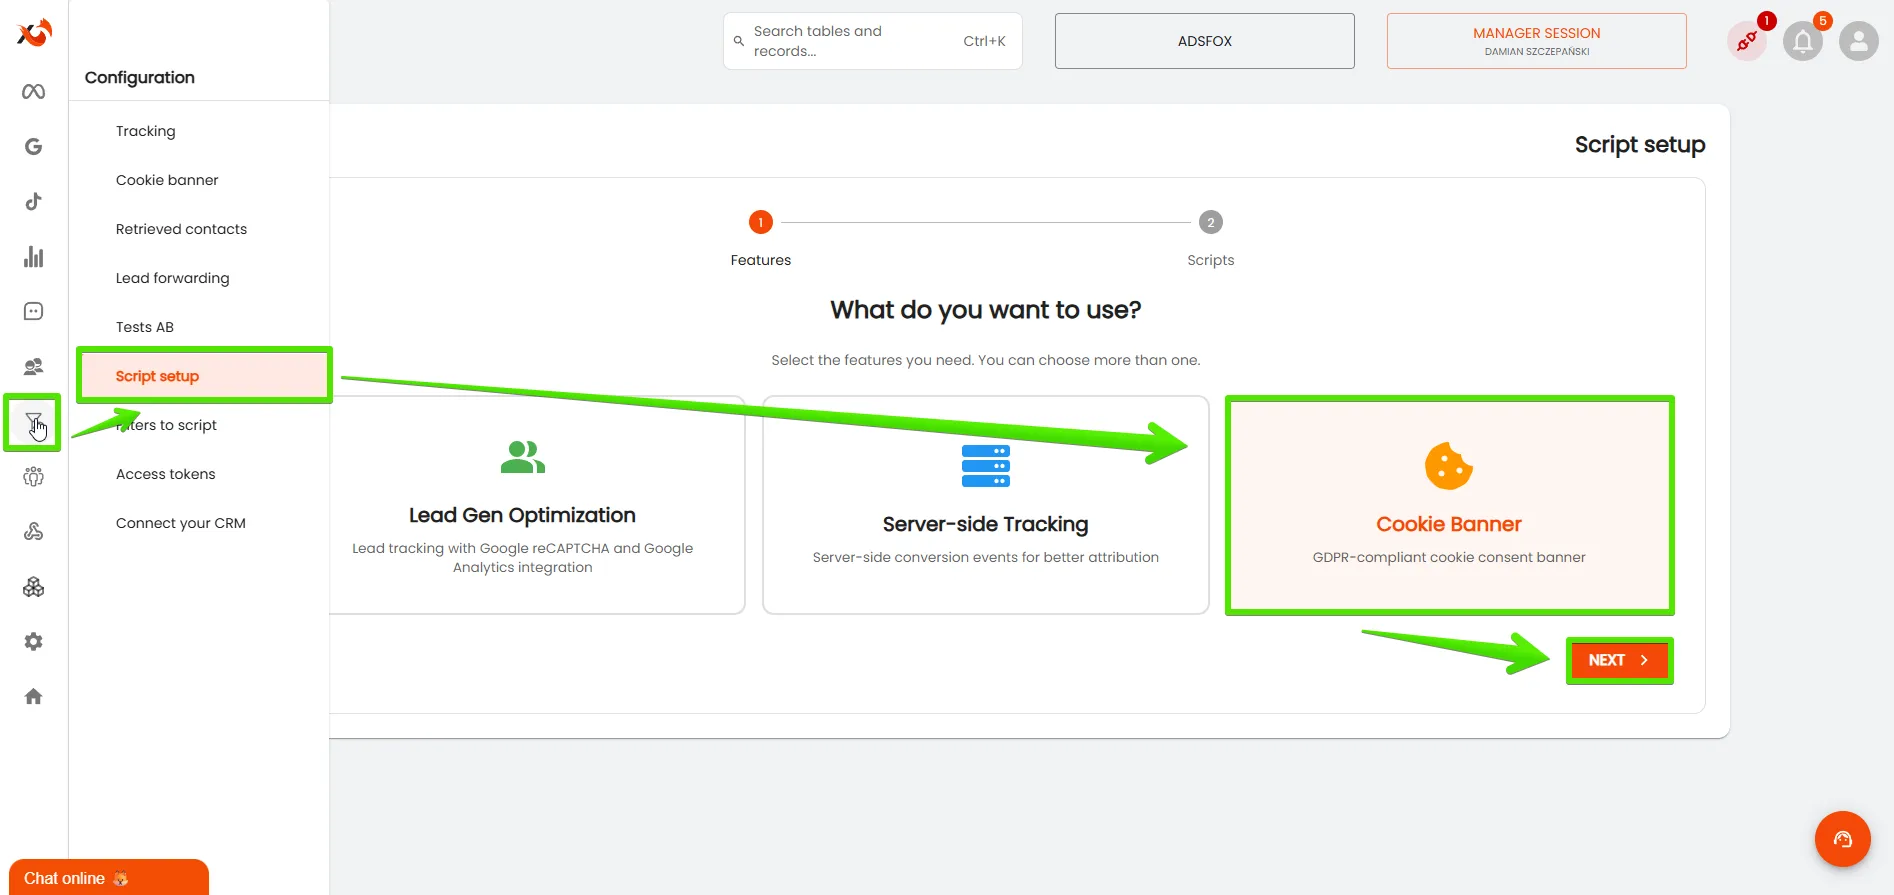
1. In the adsfox panel, go to Configuration -> Script Settings, select Cookie Banner, and then click Next.
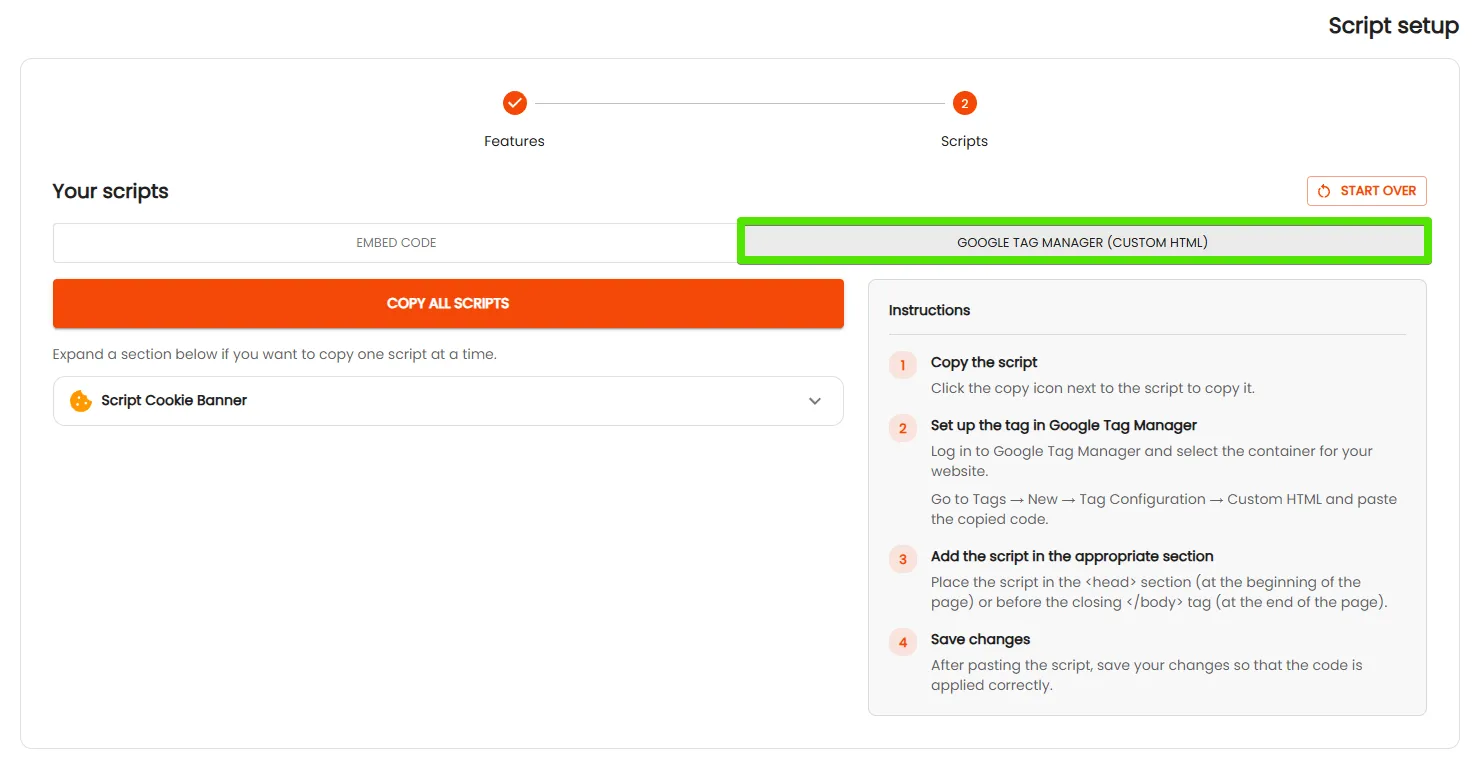
2. Select the GTM option.
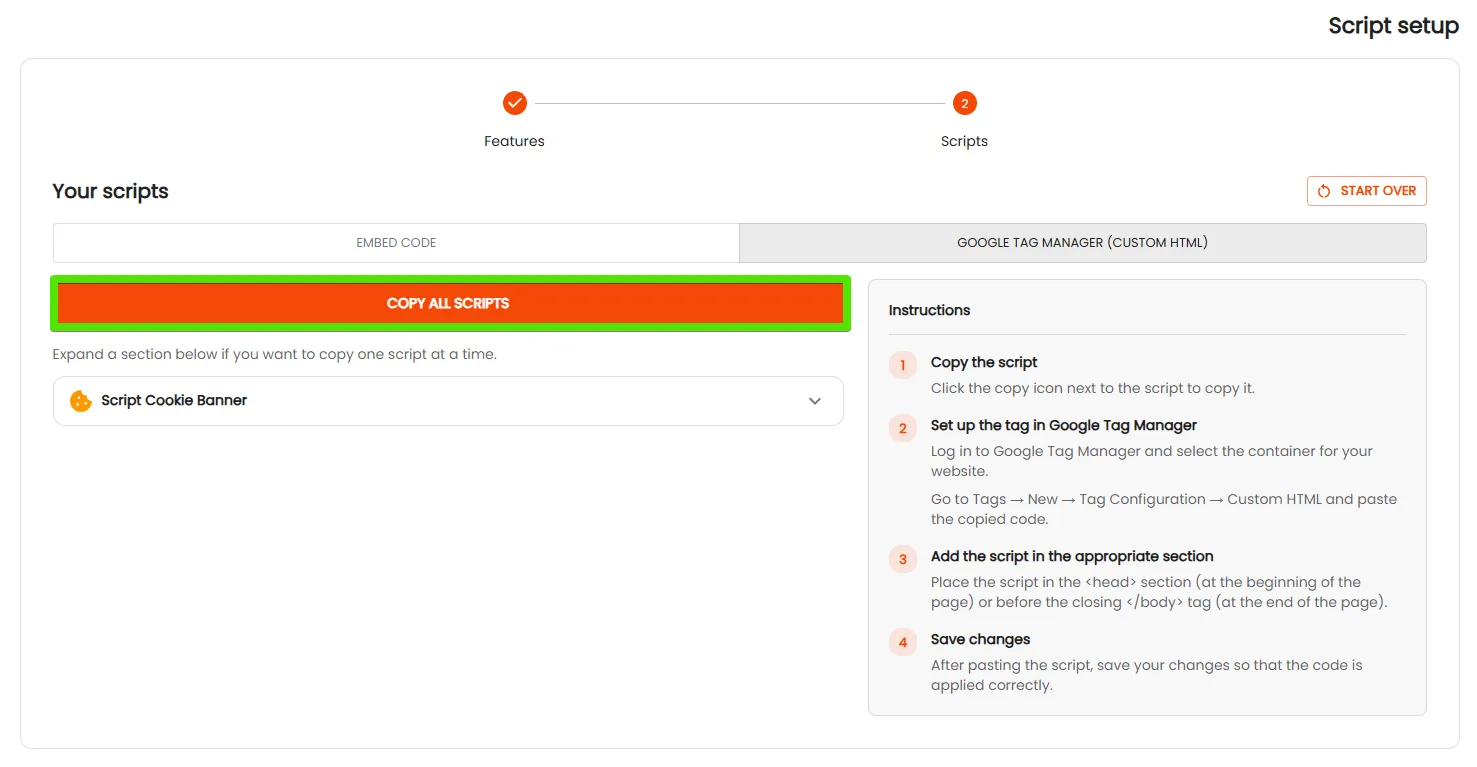
3. Click Copy all scripts.
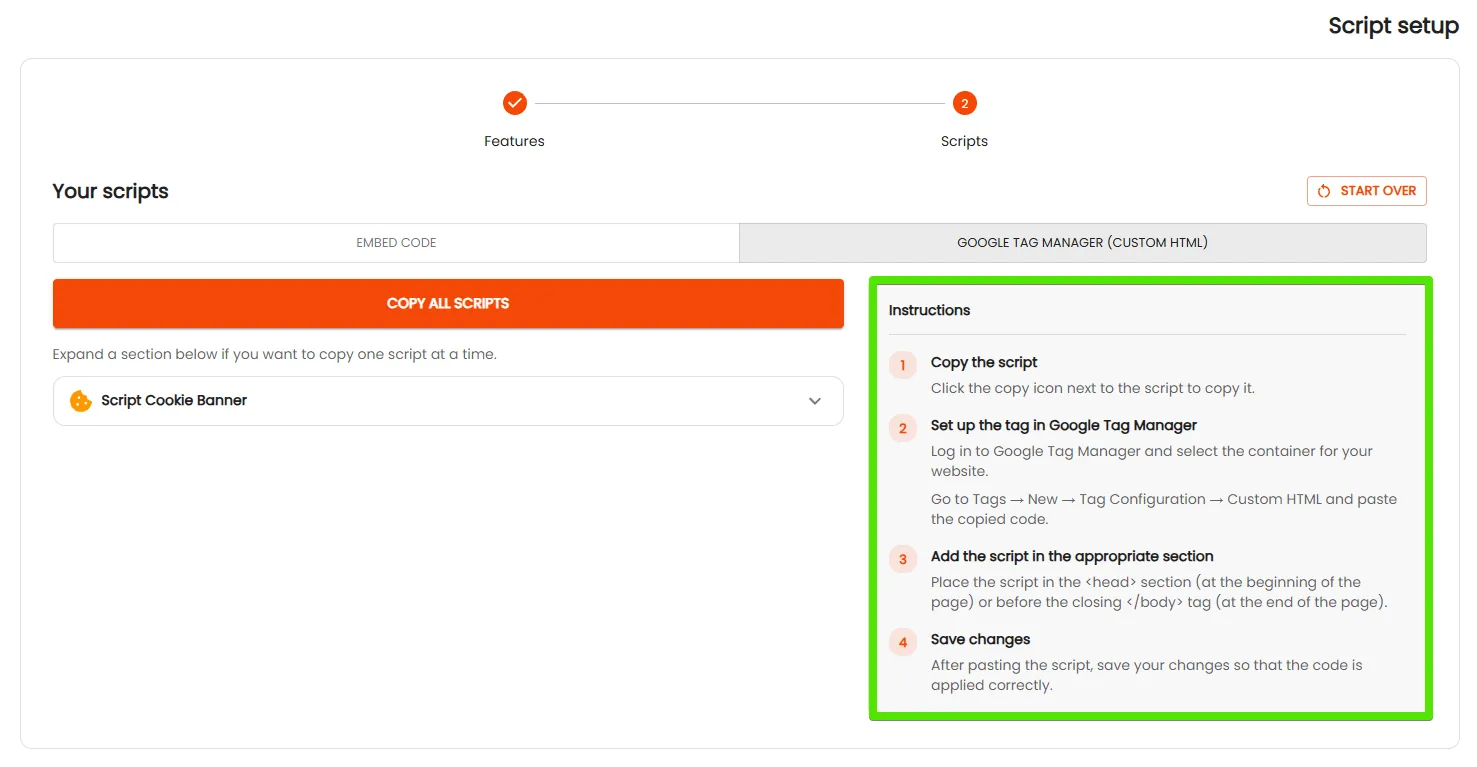
Step 2. Add the Script in Google Tag Manager
1. Log in to the GTM panel for the website where you want to implement the cookie banner.
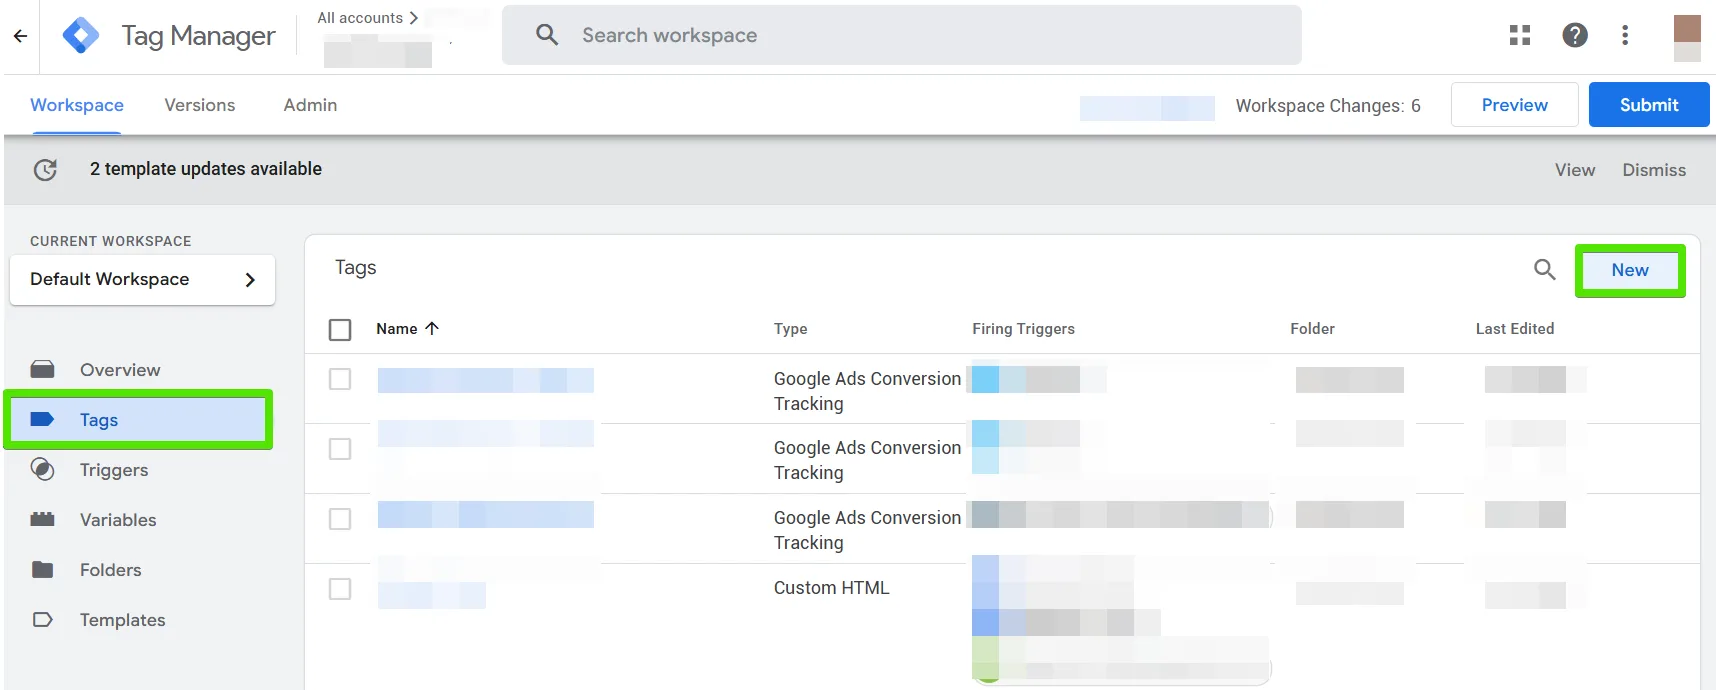
2. Go to the Tags tab and click New tag.
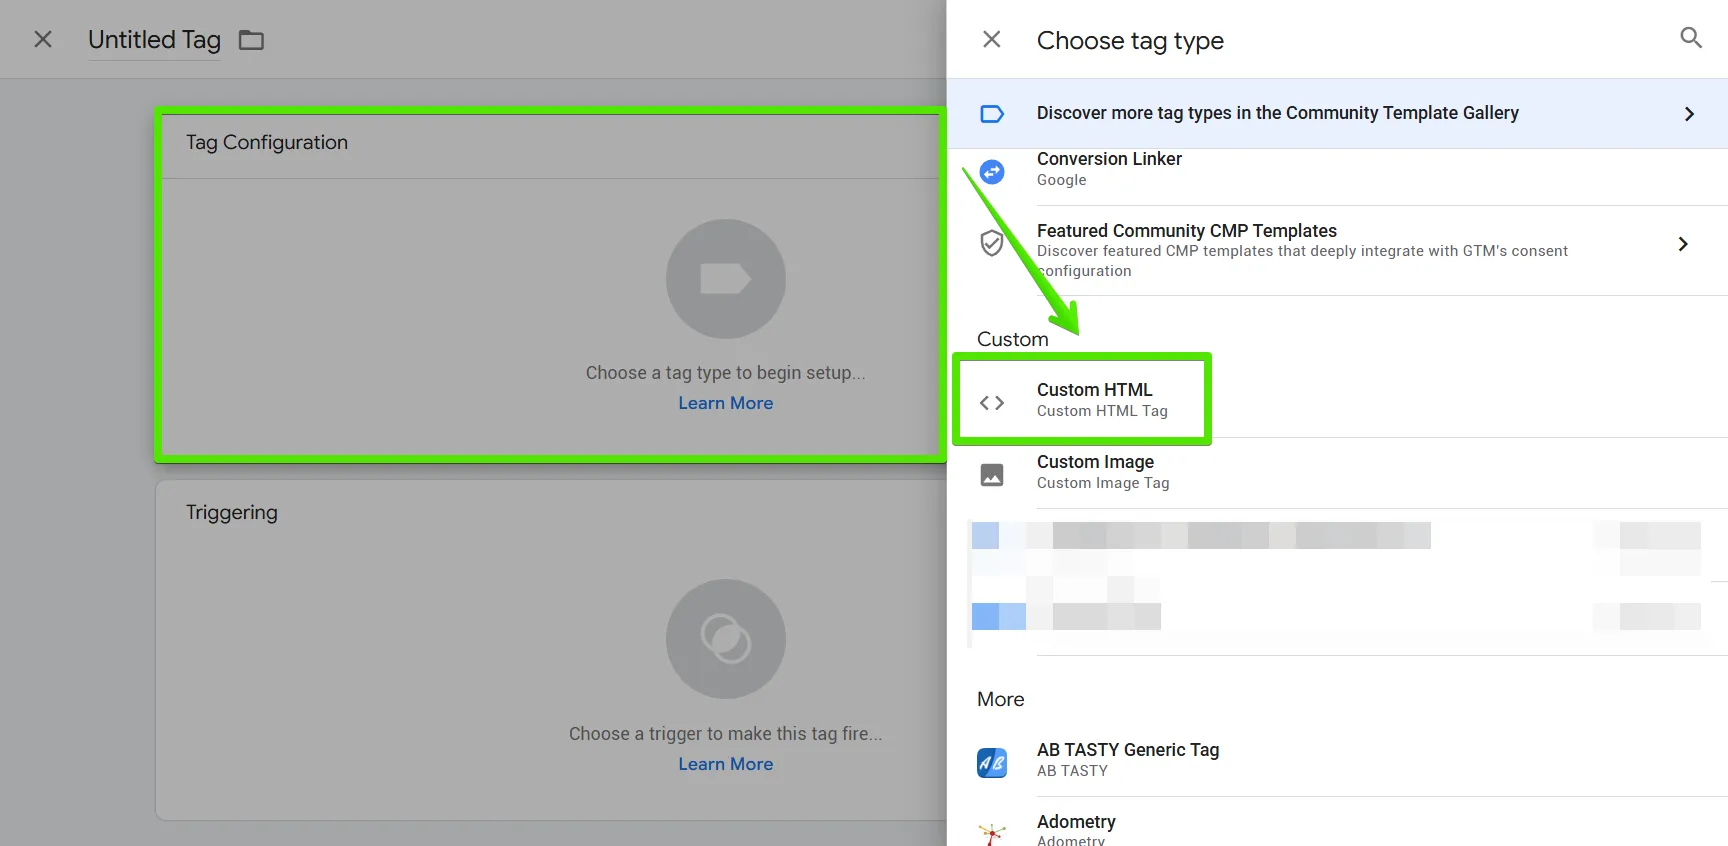
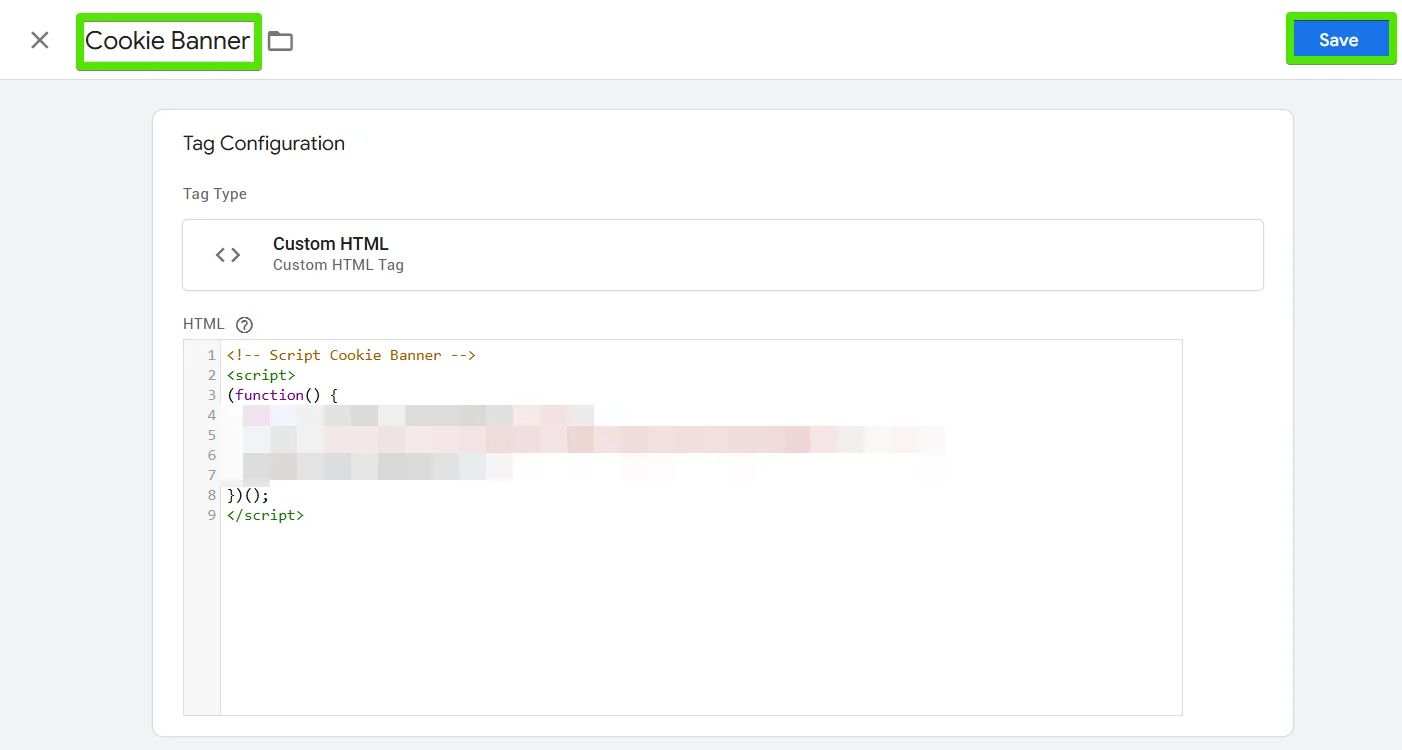
3. Open Tag Configuration and select Custom HTML.
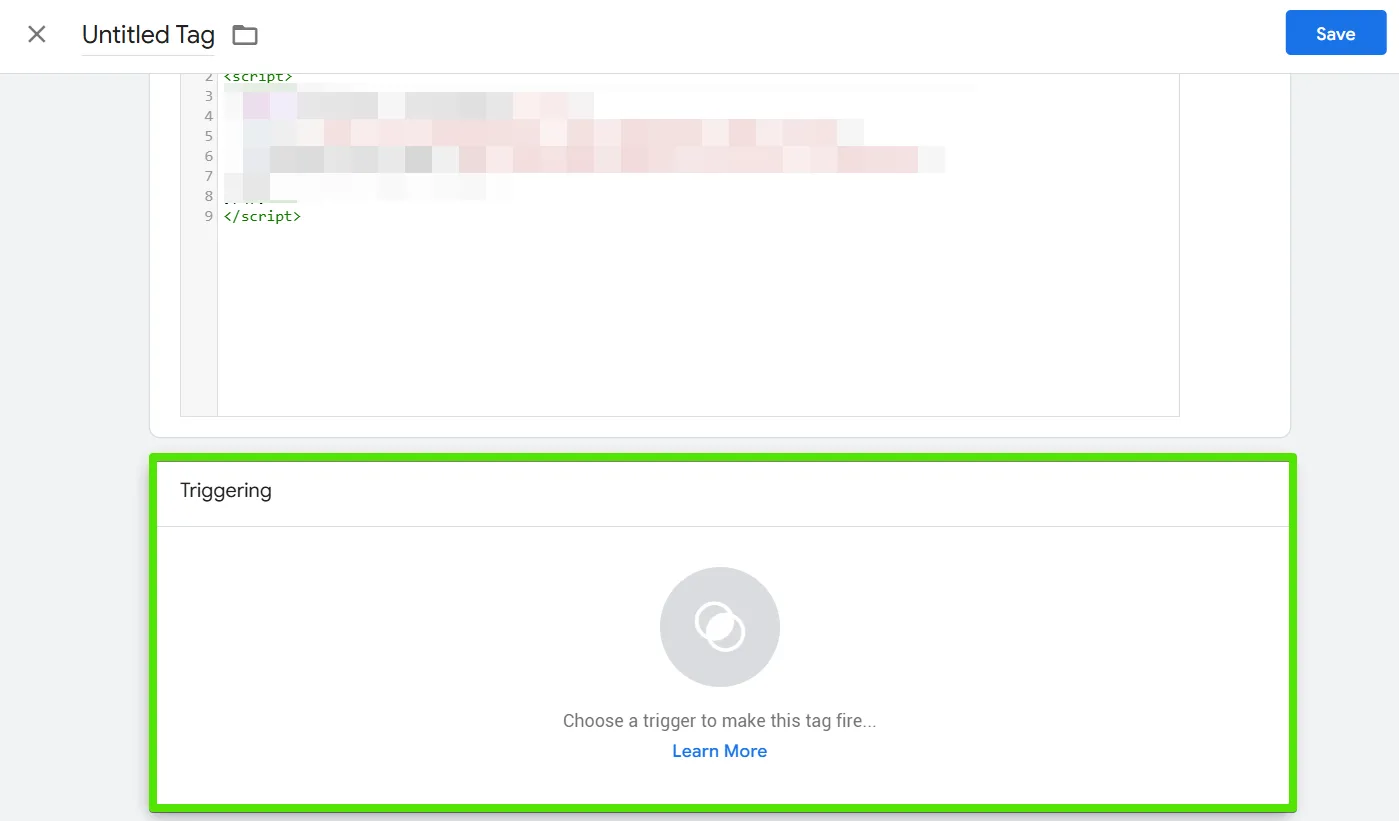
4. Paste the code you copied earlier into the appropriate field.
5. Go to the Triggering section.
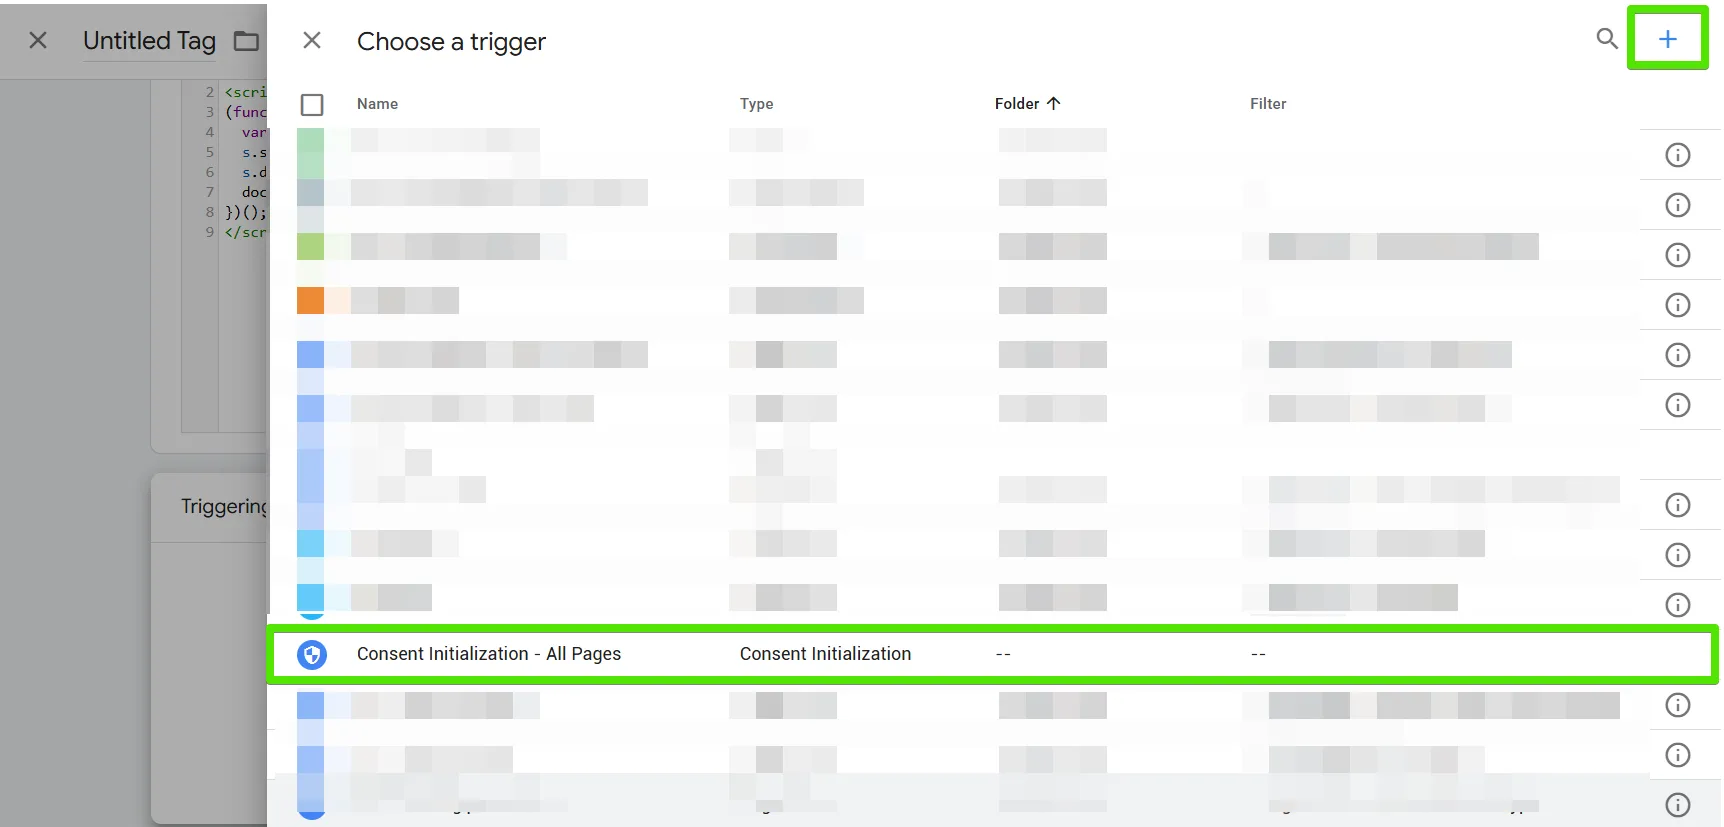
6. Select the trigger “Consent Initialization – All Pages”.
7. If you do not have this trigger, click the plus icon to add a new one.
8. Select Trigger Configuration, and then choose Consent Initialization.
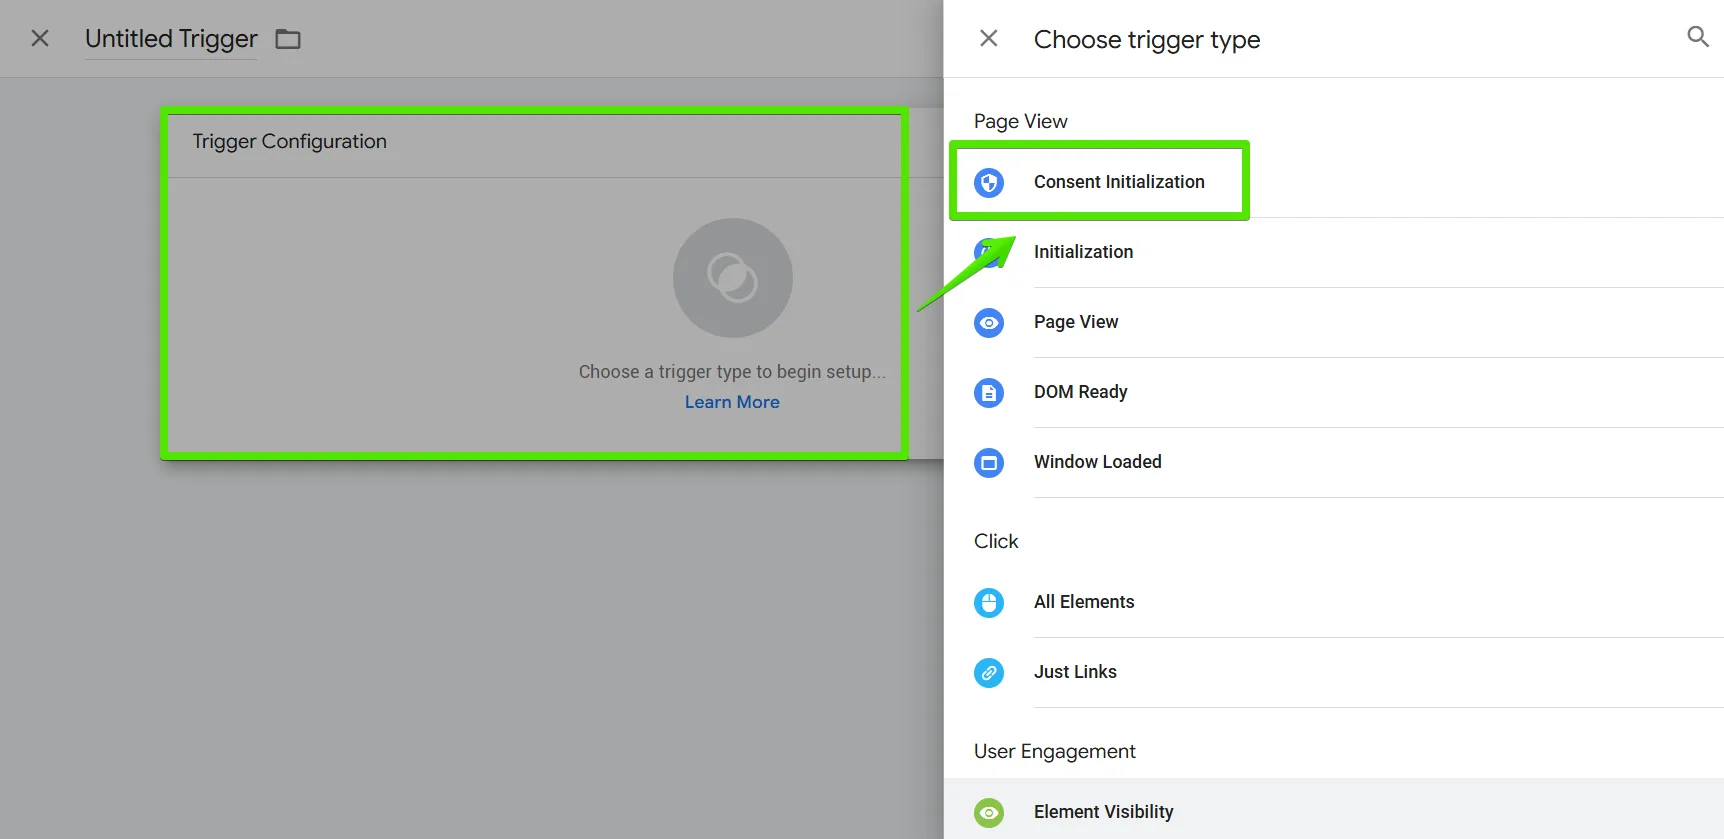
9. Name the trigger “Consent Initialization – All Pages” and click Save.
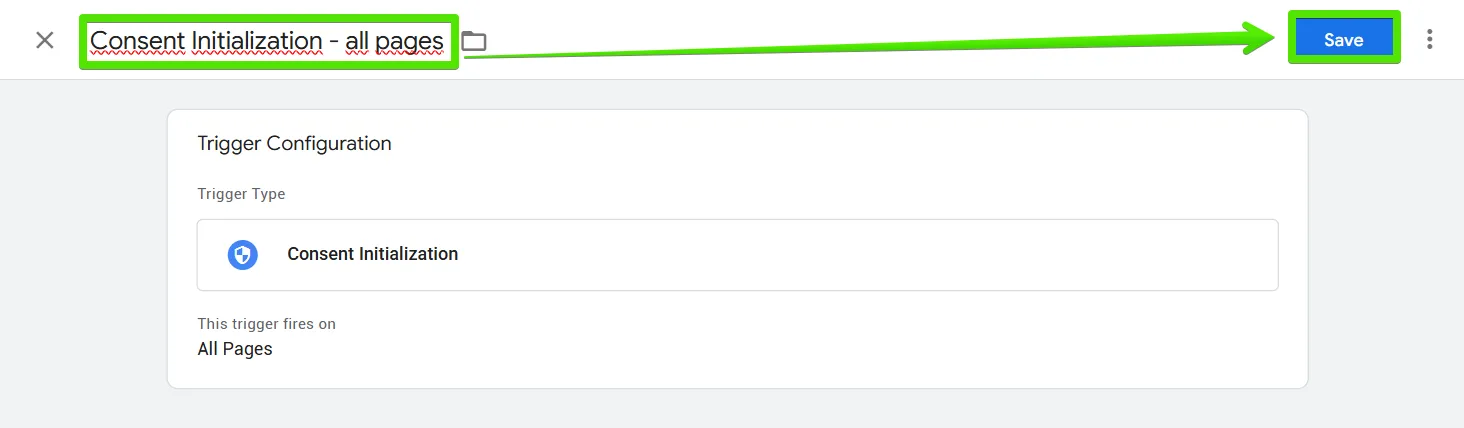
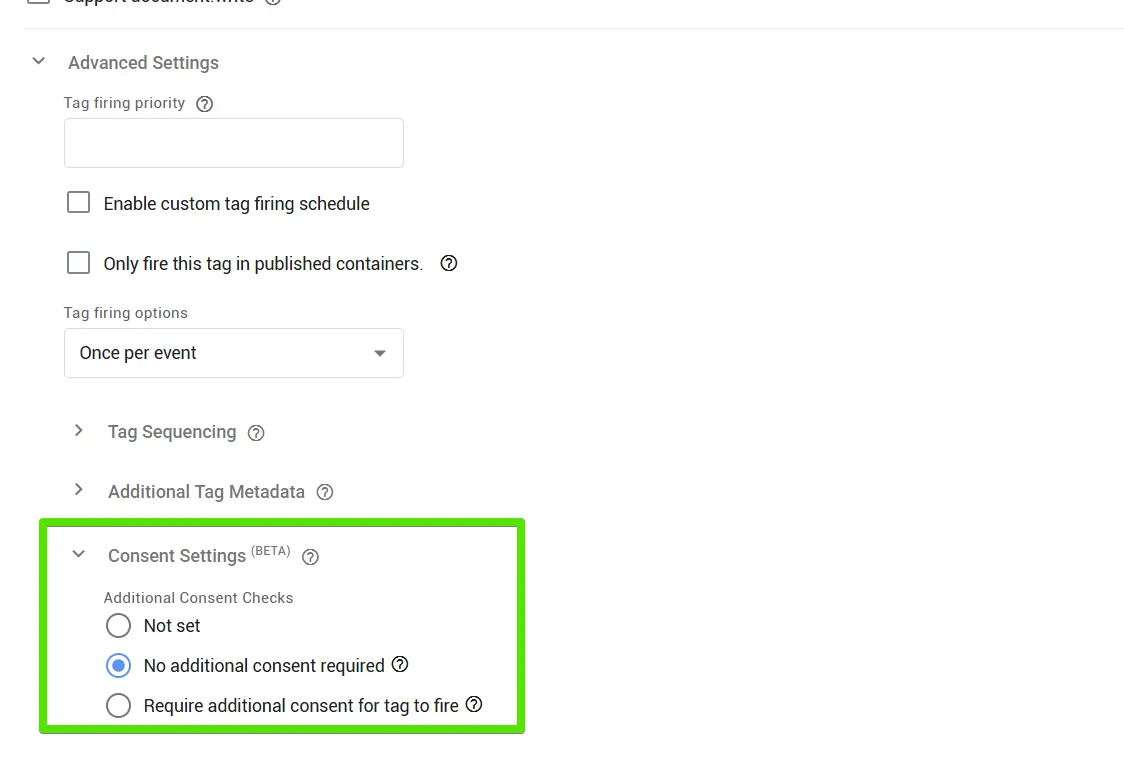
10. In Advanced Settings, go to Consent Settings and select that no additional consent is required.
11. Name the tag, for example “Cookie Banner”, and save it.
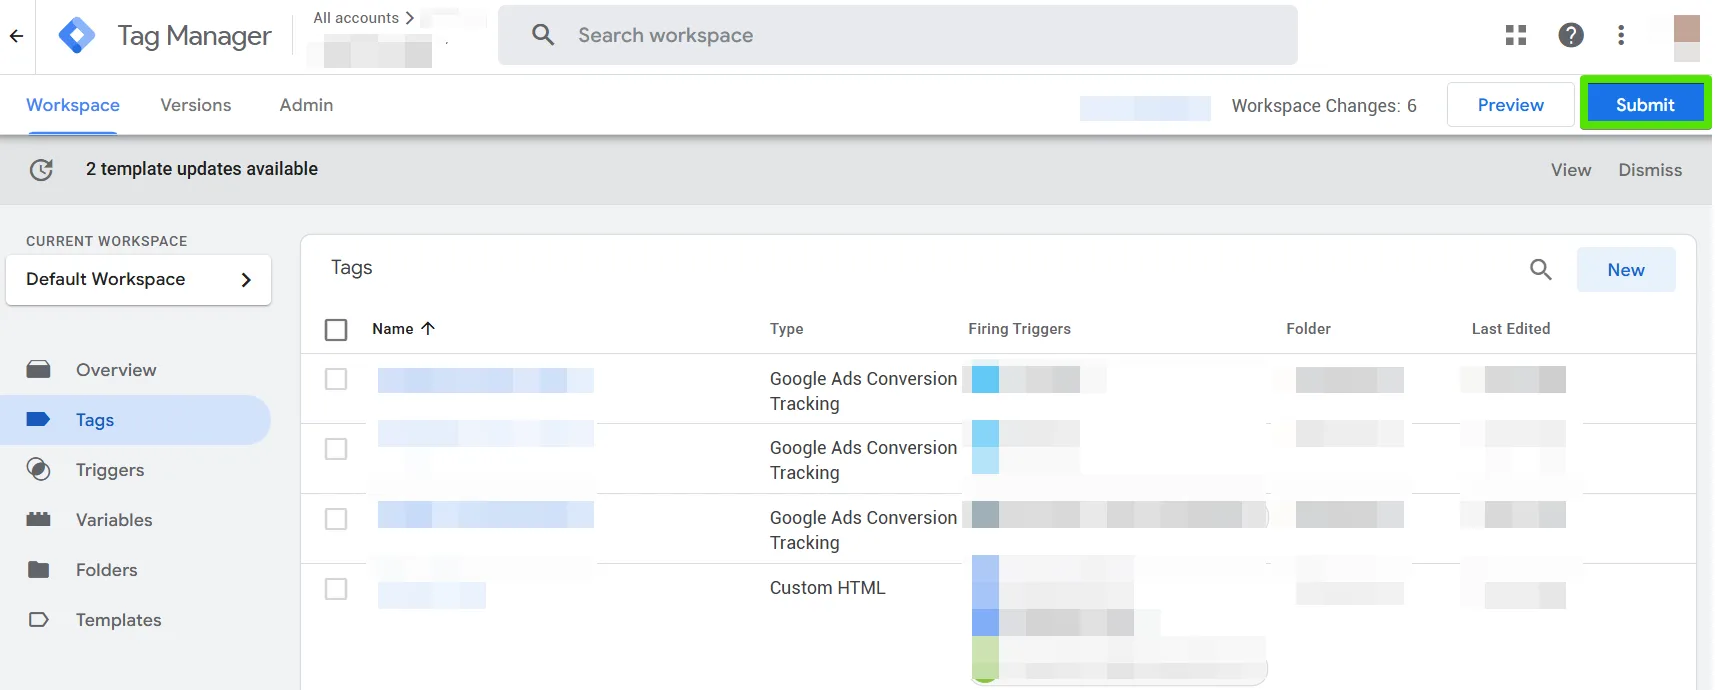
12. You can now publish the changes in the GTM container.
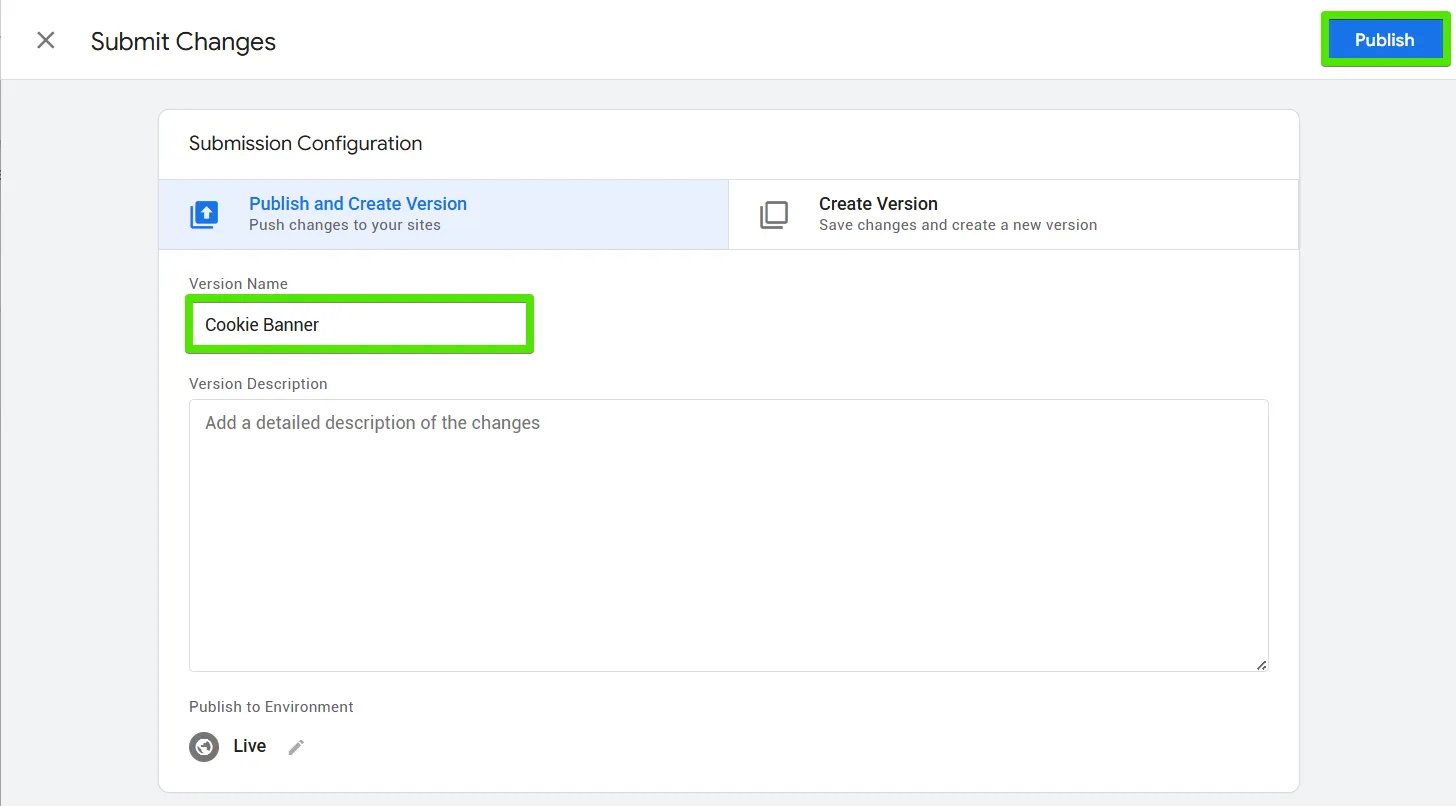
13. Name the version, for example “Cookie Banner”, and then click Publish.
Step 3. Configure the Cookie Banner in adsfox
1. After publishing, the cookie banner should already be working on the website. You can now go to its configuration in the adsfox panel under Configuration -> Cookie Banner.
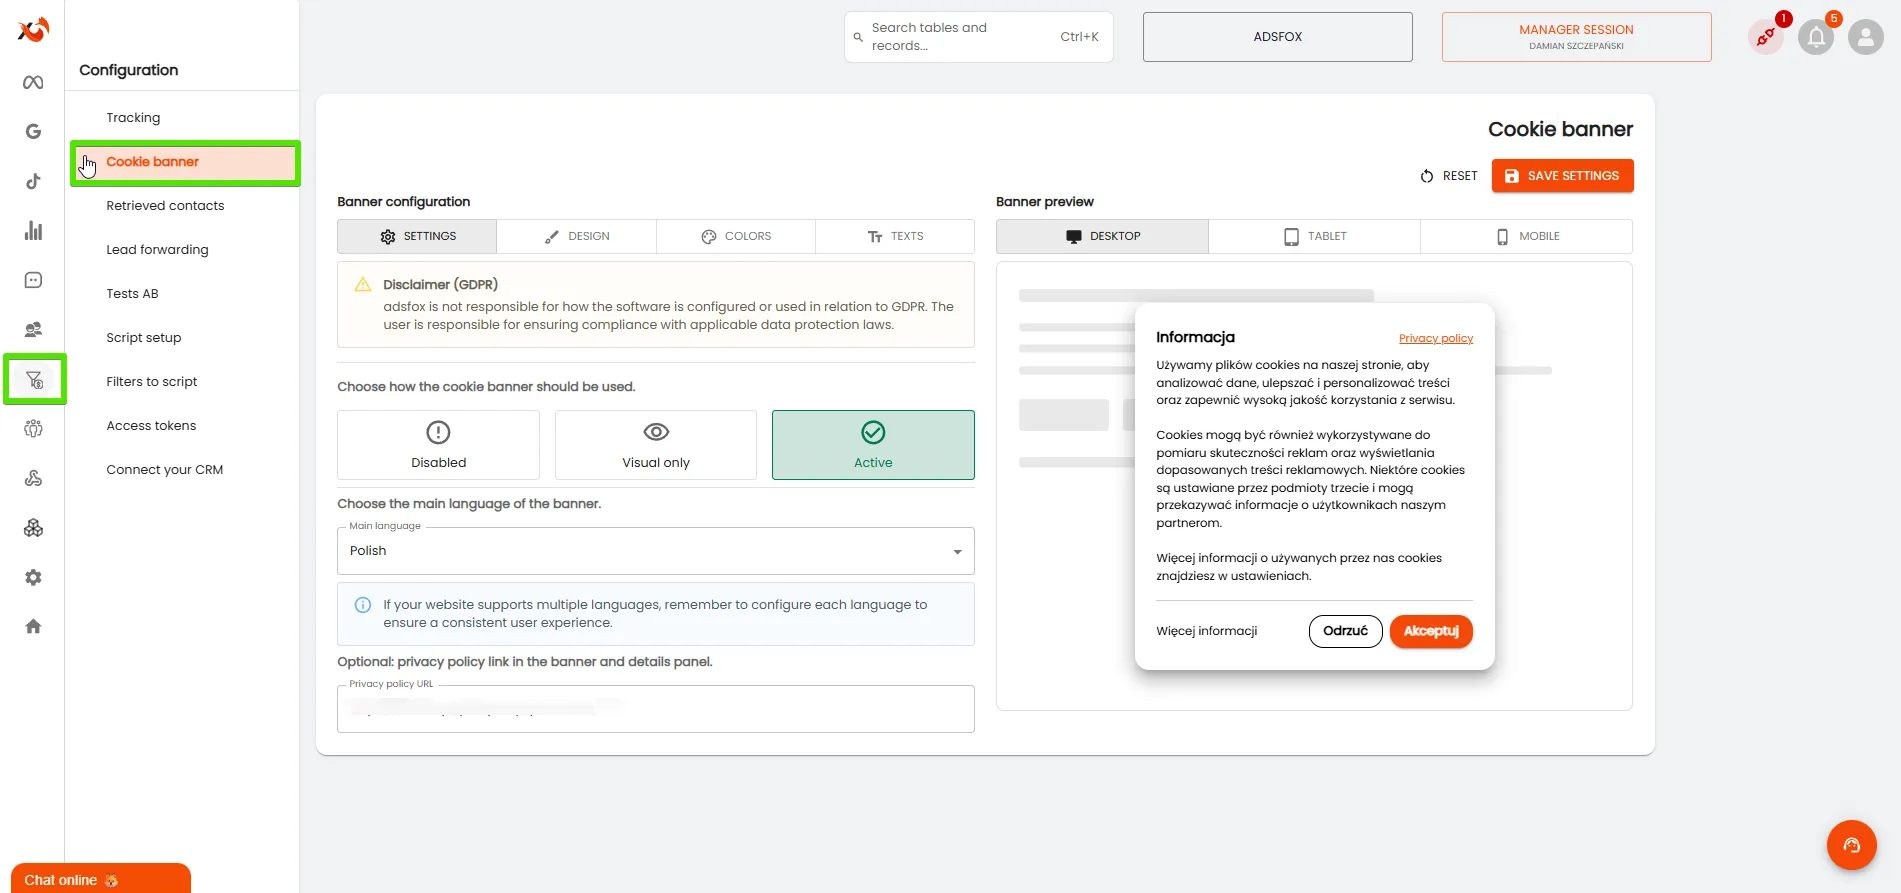
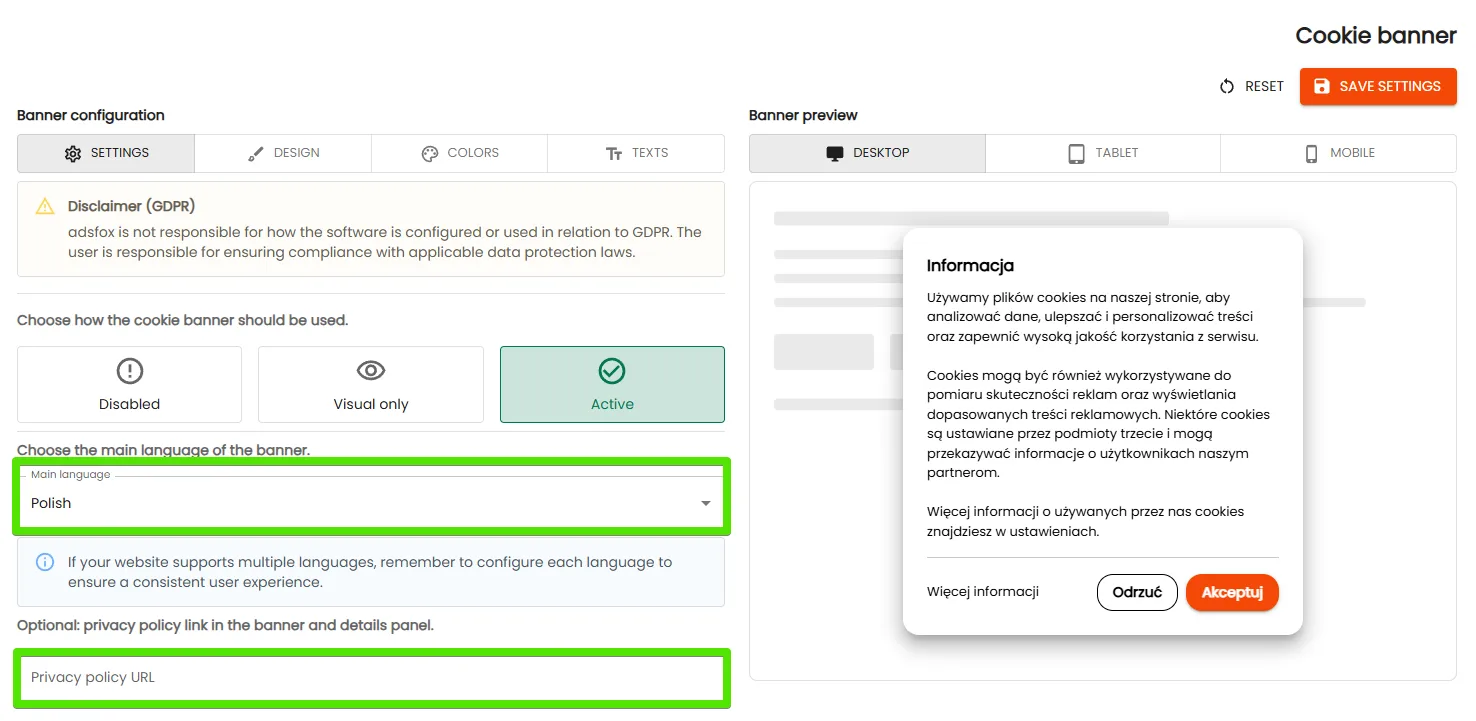
2. Add the link to your privacy policy and choose the default language.
3. Set your preferred banner layout.
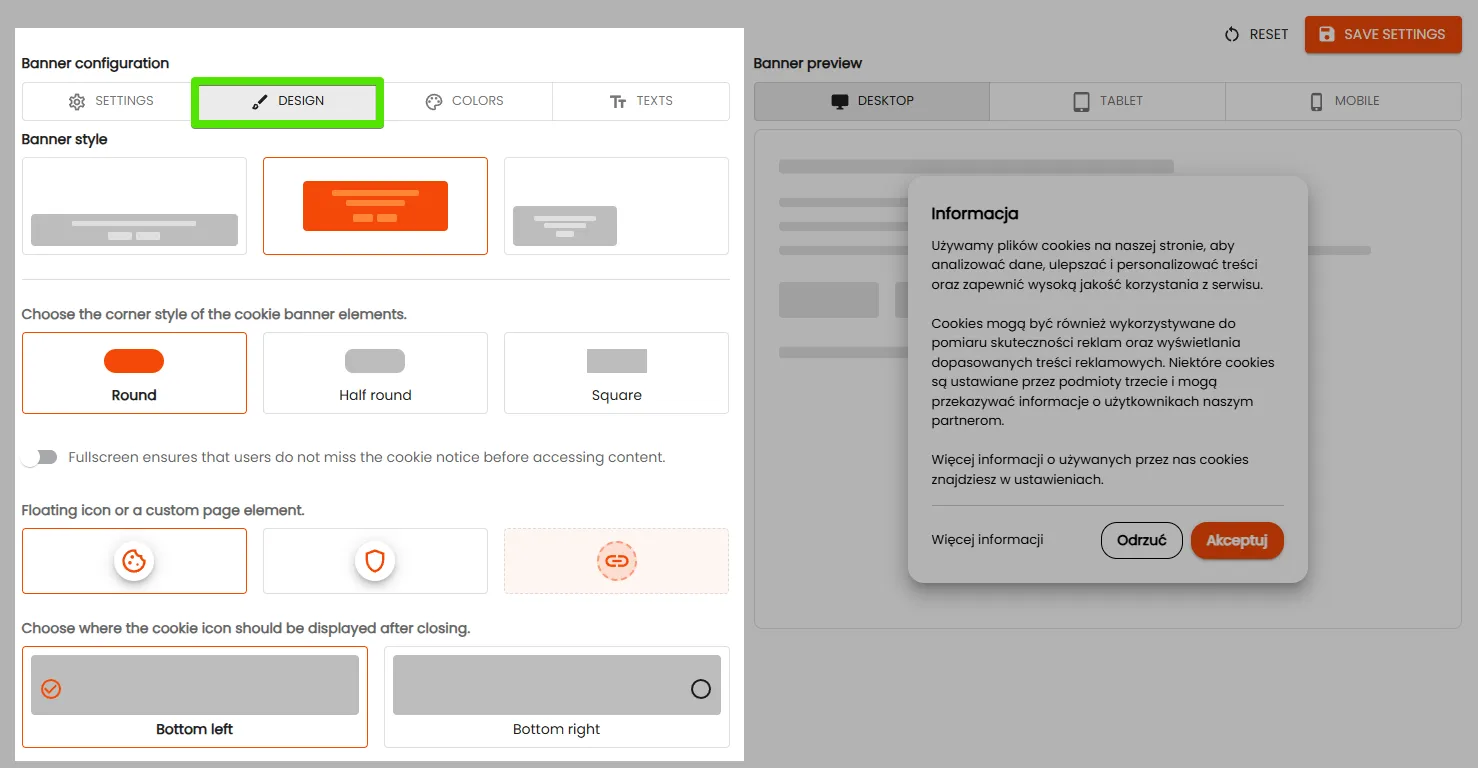
4. Choose your preferred colors.
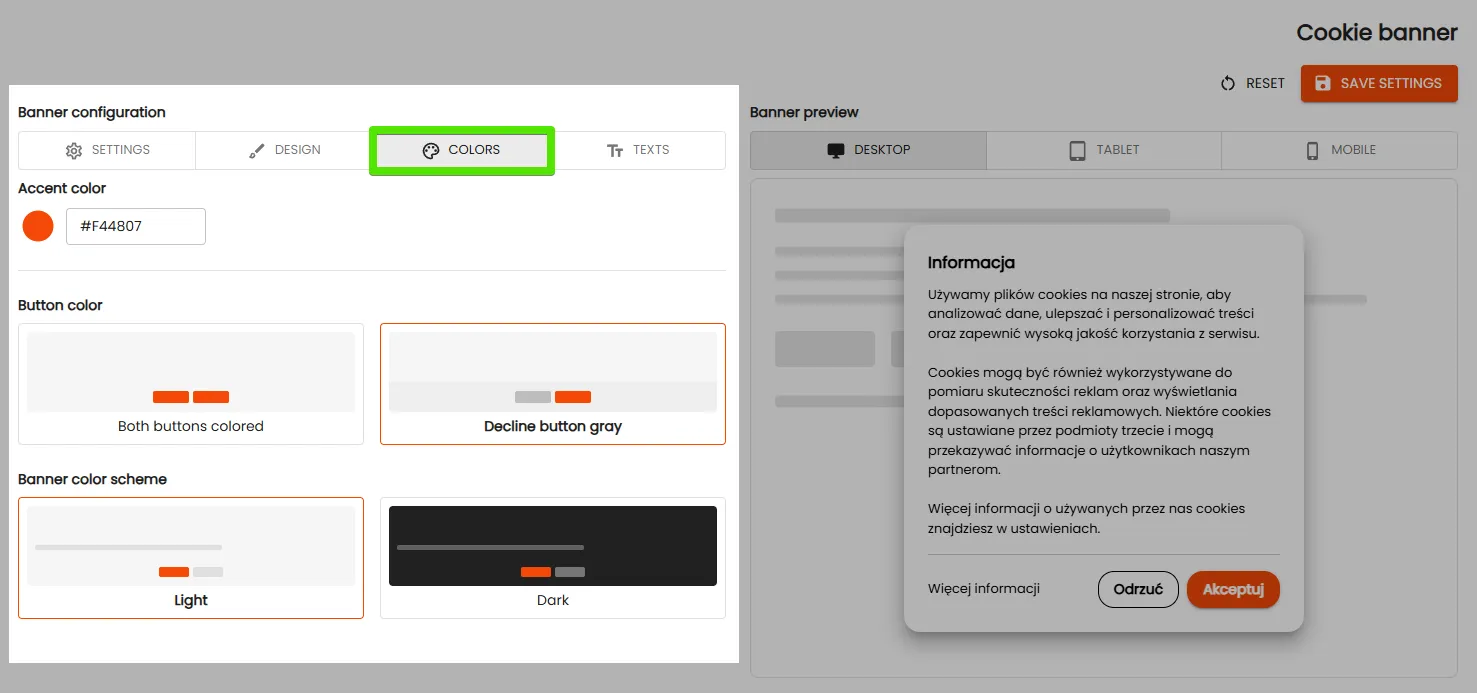
5. Fill in the banner text that will be displayed.
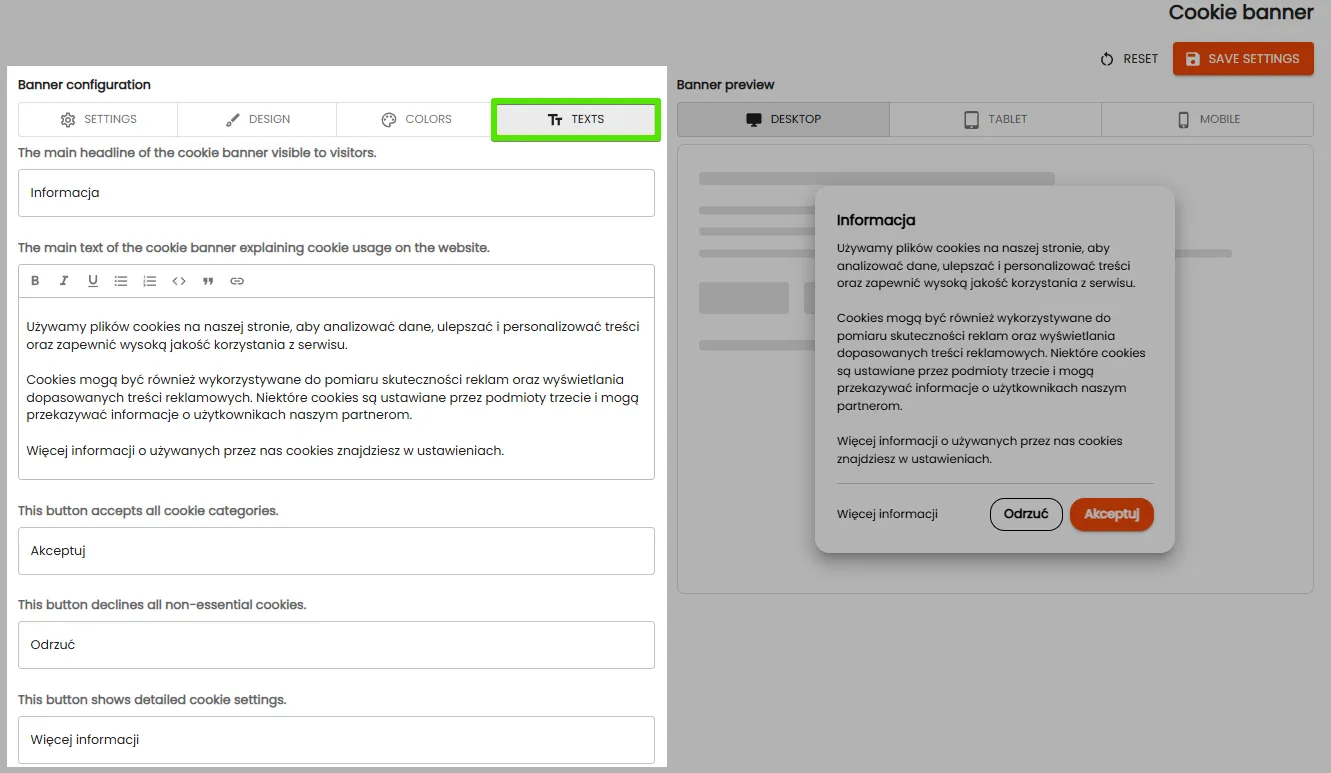
6. Save your changes.
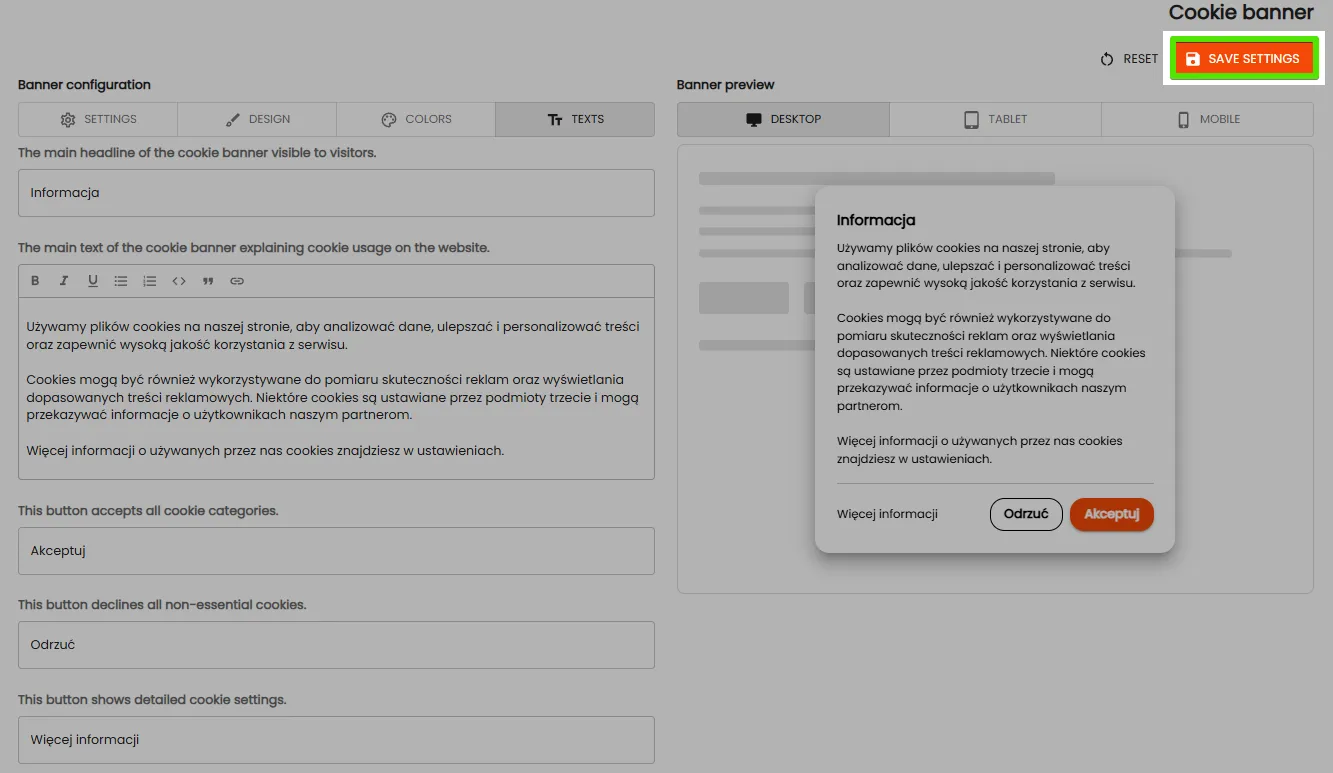
Done. The cookie banner has been successfully implemented and configured.
Check Whether Everything Works
1. Open the website in incognito mode or clear your browser cookies.
2. Check whether the cookie banner appears immediately after entering the website.
3. Verify that the consent buttons work correctly.
4. If the banner does not appear, check again whether the script was pasted into a Custom HTML tag and whether the trigger was set to Consent Initialization – All Pages.
What’s Next?
If the cookie banner is already working correctly, you can fine-tune its settings in the adsfox panel and adjust the text to match your website requirements. It is also worth reviewing the remaining script implementation elements so the whole setup works consistently and collects user consent correctly.